Loading Bay Dock Bumpers: Where To Place Them And How To Get It Right First Time
Getting your loading bay dock bumpers right protects your building, keeps vehicles aligned, and reduces expensive repairs. In this guide, you will learn what bumpers do, where to place them, how to mount them, and the small details that make the install last. You will also see when to use back plates, shims, and UHMWPE fronts, plus compatibility tips for the common Type 1810 and 3010 patterns and M-bolt considerations. By the end, you will have a simple checklist to follow and a few common mistakes to avoid.
What dock bumpers are for
Dock bumpers are sacrificial pads that absorb impact when trailers meet the dock. They:
- Protect the dock face and leveller frame from impact and scraping.
- Keep the trailer at a controlled stand-off so doors and seals sit correctly.
- Reduce friction and snagging during small trailer movements at the bay.
- Minimise building damage during misalignment or when drivers re-approach.
Rubber is the standard because it compresses and rebounds well. You can add UHMWPE fronts where trailers creep or scrub at the face, which reduces wear and helps the pad last longer.
Where to place loading dock bumpers
Correct placement starts with your bay geometry and your vehicle mix.
- Vertical position: For most UK bays serving mixed HGV fleets, set the bumper centreline around the midpoint of your dock leveller operating height. A common approach is a bottom edge roughly 250 to 300 mm above yard level, which places the strike zone where trailers typically land. Adjust if you regularly handle low urban trailers or tall double deckers.
- Horizontal stand-off: Keep the bumper proud of any protruding steelwork so the rubber takes first contact. If your leveller or dock door frame sits forward, use packing shims or a back plate that brings the face out so the bumper is the sacrificial point.
- Width and spacing: Two vertical bumpers positioned to frame the trailer’s rear impact area is the norm. Keep them clear of leveller lips and dock seals. For levellers with frames that sit inside the opening, align bumpers with the external building line so the trailer lands square without pinching seals.
- Height stacking: If you load a wide range of trailer deck heights, consider a tall bumper or a stacked pair. This increases the protected zone so lower or higher trailers still hit rubber, not brickwork.
- Wheel guides: If you use loading bay wheel guides, position them to funnel the trailer into the bumper centres. This reduces off-centre hits and twisting loads on the plates.
If in doubt, mock up with a parked trailer and measure the contact area at the dock. Aim for the trailer to land on the middle third of each bumper.
Back plates, shims, and UHMWPE fronts
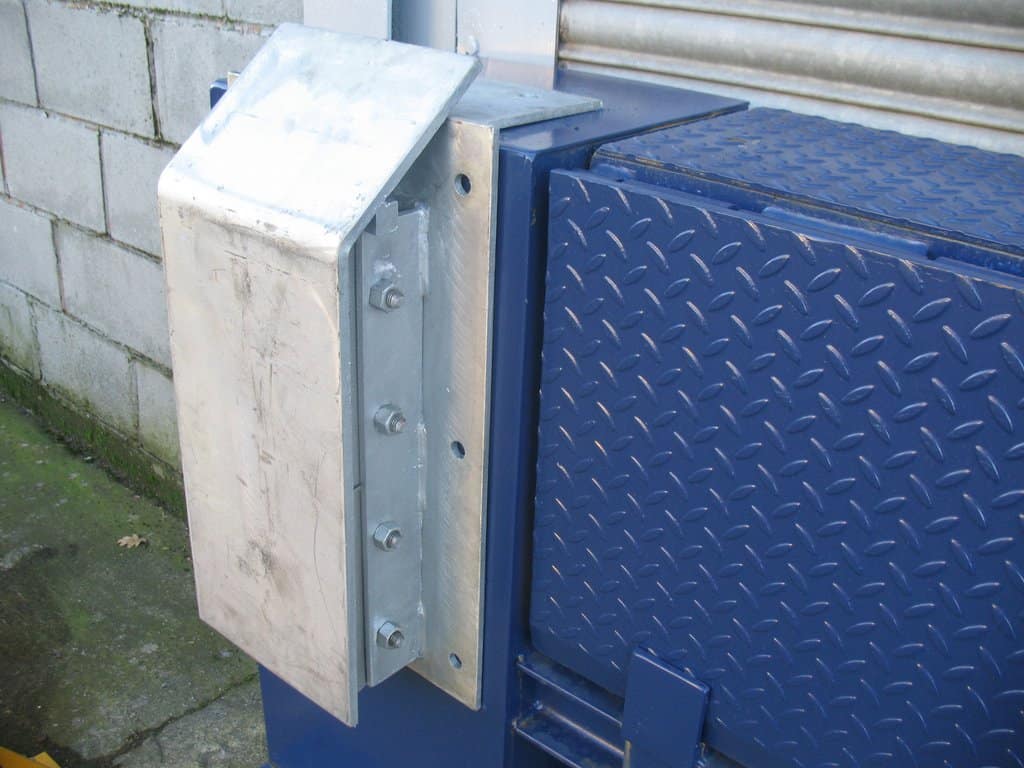
- Back plates: Use a steel or galvanised back plate when your dock face is uneven, when you need a stronger fixing pattern, or when you want to future proof with a replaceable pad. A back plate spreads the load and gives consistent hole centres.
- Shims: Use 20 mm or 50 mm packing shims behind the bumper to fine tune the stand-off. Shims help clear protruding steelwork, coping stones, or cladding lips so the rubber always takes first contact.
- UHMWPE fronts: Add a UHMWPE wear face on high-use bays where trailers creep during loading. The low friction surface reduces heat and rubber tearing. It also helps when trailers lift or settle on air suspension during loading.
MGFSites.com stocks replacement rubber pads, back plates, and shims, with next working day dispatch available on stocked items when you order before the mid-day cut-off.
Compatibility: Type 1810 and 3010 patterns, plus M-bolts
Many UK bays follow common hole patterns:
- Type 1810 pattern: Often refers to hole centres suited to classic 450 x 250 mm pads. Check the vertical centre spacing against your existing steelwork.
- Type 3010 pattern: Typically used on thicker or taller pads. Confirm both horizontal and vertical centres to match plate and pad.
If you are refurbishing, measure the existing hole centres and thickness so your replacement pads and plates line up. Where fixings pass through a UHMWPE front, use appropriate cup washers or G form washers to spread the load on the plastic. M-bolt considerations vary by plate design, but you will commonly see M12 for pad to plate and M24 for plate to structure on heavy-duty systems. Follow the product guidance and torque settings from your chosen hardware.
How to attach a bumper to a dock
The method depends on whether you fix directly to the wall or to a back plate.
- Survey and mark up: Offer the plate or bumper to the wall, square to the leveller opening. Mark hole positions. Check for rebar, voids, or weak brickwork.
- Drill and clean: Drill to the specified diameter and depth for your anchors. Blow out dust to ensure full holding power.
- Fit back plate or direct mount: If using a back plate, fix it first using the recommended anchors. Shim as needed to achieve the required stand-off and squareness.
- Fit the bumper: Place the rubber pad to the plate or wall. Install bolts from front to back using specified washers. If using a UHMWPE front, sandwich it between pad and fixings as designed or fit it as a replaceable face using the front plate pattern.
- Tighten and inspect: Torque to specification, then re-check after the first week of use. Inspect for any twist or rocking that suggests the wall is uneven and add shims if required.
If you are unsure about concrete condition or anchor choice, contact us for guidance before drilling.
Safety guidelines and common hazards at loading docks
Loading docks are busy and can be high risk environments. Keep these points front of mind:
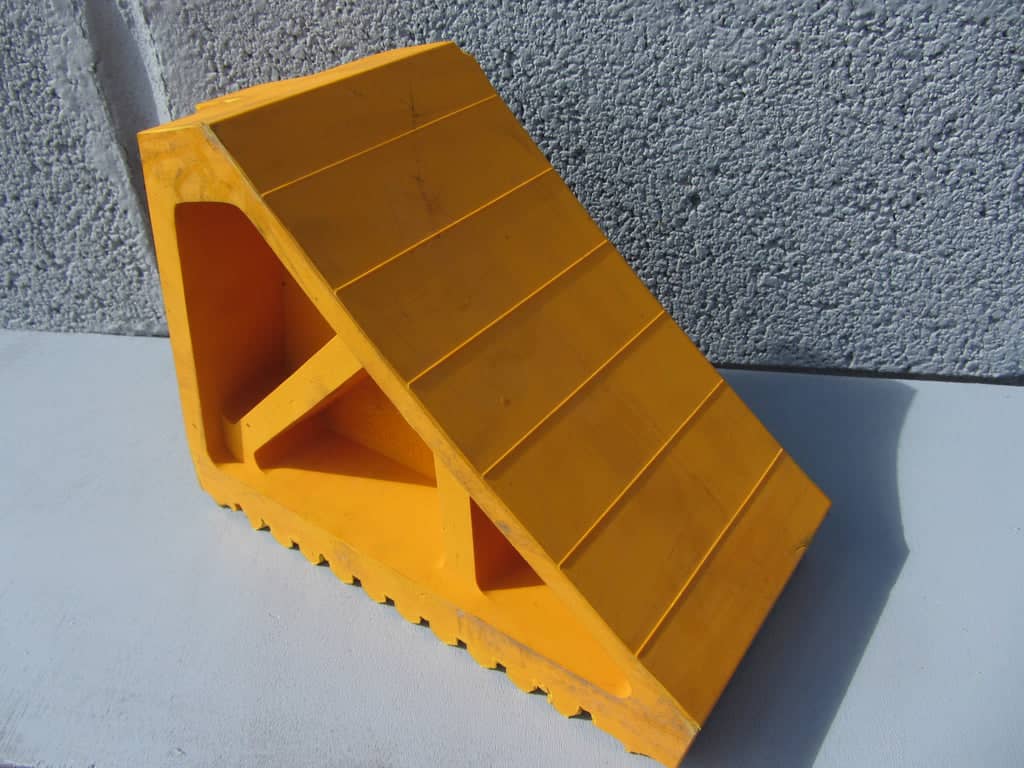
- Vehicle restraint: Use a wheel chock for trailers without active restraints and confirm the parking brake is set.
- Pedestrian segregation: Mark walkways and use safety barriers where pedestrians pass near reversing vehicles.
- Communication: Agree hand signals or use dock lights so drivers do not pull away during loading.
- Housekeeping: Keep the apron clear of debris, spilled grain, wrap, or ice that can cause slips and reduce tyre grip.
- Equipment checks: Inspect dock levellers, bumpers, and seals. Replace split rubber or distorted plates promptly.
- Visibility: Add reflective markings on approach routes and ensure bay lighting is sound.
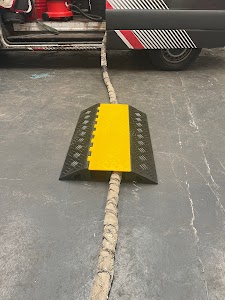
Typical hazards include trailer creep, premature pull-away, off-centre impacts, slips on wet aprons, and trips over temporary cables or hoses. If you run temporary lines, consider a cable protector ramp to reduce trip risk and damage.
A simple installation checklist
- Confirm vehicle mix and typical trailer deck heights.
- Choose bumper size and thickness to protect the full strike zone.
- Decide on a back plate for load spreading and future pad replacement.
- Measure existing hole centres, check Type 1810 or 3010 compatibility.
- Plan stand-off, add 20 mm or 50 mm shims if needed.
- Select UHMWPE fronts where trailers creep or scrub.
- Mark out with a test trailer if possible, then drill and fix.
- Torque fixings, then re-check after one week of use.
- Add accessories that support safe operations, such as trailer wheel chocks and clear pedestrian routes.
Common mistakes to avoid
- Mounting too low or too high so trailers miss the rubber.
- Fixing bumpers flush while steelwork protrudes, which exposes frames to impact.
- Mismatching hole patterns, forcing a poor fit or drilling extra holes in thin brickwork.
- Under-sizing anchors or skipping washers on UHMWPE fronts, which leads to loosening and cracking.
- Ignoring wheel guidance, then suffering repeated off-centre hits and torn pads.
Bringing it together with fast supply
Getting the details right saves you repairs and downtime. If you are planning a new bay or refurbishing a tired one, MGFSites.com can supply loading bay dock bumpers, back plates, and shims with next working day delivery on stocked items. You can also add related items that support safer operations, such as loading bay wheel guides and a quality wheel chock for manual trailer restraint. If you are improving your wider workspace, our site safety equipment range is a good place to start.
Not sure which pattern or stand-off you need? We are always happy to chat through your site and help you choose the right kit first time. Call us on +44 (0)1246 472307 or email info@mgfsites.com