Aircraft Wheel Chocks Explained: Meeting Safety Standards In Aviation
Aircraft Wheel Chocks Explained: Meeting Safety Standards In Aviation
Keeping an aircraft safely in place on the ground is non negotiable. Wheel chocks are a simple tool that do a crucial job, yet there is a lot of confusion about sizes, placement, and standards. This guide gives you clear answers so you can choose the right chocks, use them correctly, and stay compliant on the apron, hangar floor, or remote stand.
What are aircraft chocks?
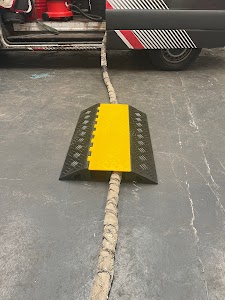
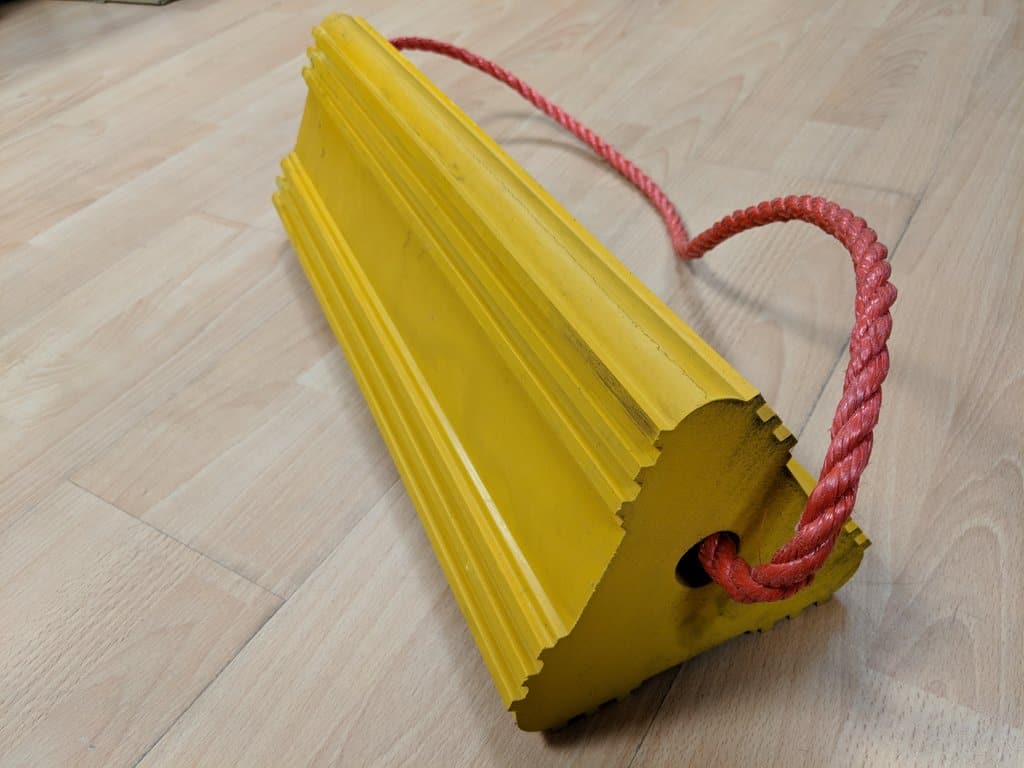
Aircraft chocks are shaped blocks placed snugly against aircraft tyres to prevent unintended movement. They are usually made from durable rubber or polyurethane, and they rely on friction and geometry to resist motion. A typical chock has a wedge profile, a high friction base, a rope or handle for safe retrieval, and high visibility markings. Some chocks are linked in pairs for fast deployment. Others include reflective strips for night operations or low light ramps.
In short, chocks are your last line of defence against roll away risks during parking, loading, fuelling, servicing, and de icing.
What are the requirements for aircraft chocks?
Local procedures will quote your authority and airfield standards, but common requirements are consistent across most operators. The following points reflect widely used guidance from airlines, ground handlers, and aerodrome manuals. Always check your company operations manual and AOM.
- Material and construction: Chocks should be robust, non cracking, and fuel resistant. Rubber and PU are common. Timber is still seen on GA ramps, but many operators prefer moulded rubber or PU for durability and grip.
- Size and geometry: The height of the chock should be appropriate to tyre diameter. A practical rule is one tenth of tyre diameter for chock height, with an absolute minimum of 50 mm for light aircraft and up to 150 to 200 mm for larger transport types. Check your fleet standard for the exact figure.
- Surface grip: The base should provide strong friction on concrete or asphalt, including wet surfaces. Ribbed or textured bases improve hold.
- Visibility: Yellow or orange inserts, reflective tape, or colour bands help crews confirm chock presence from a distance or at night.
- Handles and lanyards: Ropes or rigid handles allow safe placement and removal without hands near the tyre.
- Pairing: Use chocks in opposing pairs, one ahead and one behind the tyre, unless procedures state otherwise for slopes or specific aircraft.
- Condition: Chocks must be free from cuts, glazing, compressive set, or missing reflective elements. Defective chocks should be removed from service.
If you operate mixed fleets, standardise on sizes that match your largest tyres, and keep a second set for regional or GA aircraft so you do not over or under chock
How much space should be between tyres and chocks?
None. The face of the chock should sit tight against the tyre tread when you release the weight onto it. You do not leave a deliberate gap. A slight compressive contact is expected, but you should avoid crushing the tyre or jamming the chock under the sidewall.
Aim for firm contact across the chock face. If you can pull the chock away with a fingertip, it is not seated. If you have to kick it hard to release, you may have driven over it or set the height incorrectly. Re seat rather than forcing it.
Proper wheel chock procedures
Follow these steps to reduce risk and meet typical airside procedures.
- Confirm brake status and stand conditions
- Check parking brake set or pins installed as applicable.
- Verify stand or bay is level and clear of FOD.
- Use the correct chock size for the aircraft type and tyre.
- Approach and placement
- Approach from the fore or aft of the tyre, keeping clear of engine intakes and exhaust zones as briefed.
- Place the first chock on the downhill side if there is any slope.
- Seat the chock against the tyre, not under the sidewall.
- Place the second chock on the opposite side of the same tyre. Many operators chock the nose gear by default, then the main gear if required by wind, slope, or load activity.
- Orientation and symmetry
- Align the chock square to the tyre. Avoid placing at an angle which reduces contact area.
- For linked chocks, ensure the rope length does not force one chock to sit skewed.
- Confirmation and communication
- Visually confirm chocks in, and signal the flight deck or record per SOP.
- Some operators require a headset call, radio call, or tablet entry, plus a marshaller signal.
- During turnaround
- Keep chocks in place during loading, refuelling, and servicing unless aircraft jacking or towing is in progress.
- When using a tug, coordinate brake release timing. Chock removal is by instruction only.
- Removal
- Do not remove chocks until authorised.
- Pull from the handle or rope, never from beneath the tyre.
- Stow chocks in the designated rack or tug to avoid FOD.
- Special Conditions
- High wind or storm procedures may require chocking both nose and main gear, or adding extra sets.
- On uneven or icy surfaces, increase the number of chocks and inspect placement more frequently.
Choosing the right chocks for different aircraft
- Light GA aircraft: Use smaller rubber or PU chocks with 50 to 80 mm height, lightweight handles, and bright markings.
- Turboprops and regional jets: Medium height chocks, often 90 to 120 mm, with reinforced cores for durability and linked pairs for quick turnaround.
- Narrow body and wide body jets: Heavy duty chocks, typically 150 to 200 mm height, high friction bases, and reflective strips for night ramps.
- Helicopters: Follow OEM guidance. Some operators use lower, wider chocks due to smaller wheel diameters.
Match chock height to tyre diameter as your first sizing decision. Then consider frequency of movements, weather exposure, and surface type. If you operate in snow or sand, look for bases designed to shed debris and maintain grip.
Standards and documentation to check
- Your airline or ground handler operations manual for type specific chock sizes and placement.
- Aerodrome manual or ramp handbook for local stand rules.
- OEM aircraft maintenance or ground operations manuals for nose and main gear guidance.
- Safety management system bulletins for high wind, storm, and towing procedures.
Keep a simple reference card at the gate with chock sizes per fleet type. It saves time and prevents guesswork during busy turns.
Common mistakes to avoid
- Using a chock that is too small for the tyre diameter. It can ride up and lose hold.
- Leaving a gap between tyre and chock. Movement can build momentum before the chock engages.
- Placing the chock under the sidewall instead of the tread. This risks tyre damage.
- Forgetting to chock the downhill side first on a sloped stand.
- Relying on a single chock when wind or loading calls for two or more.
- Allowing damaged or hardened chocks to stay in service.
Where to source compliant chocks
If you need durable, high visibility options sized for GA through wide body fleets, explore aircraft wheel chocks that are built for daily ramp use. If you also help manage mixed sites, you can standardise across your fleet by pairing aircraft models with the right wheel chock for ground vehicles used airside.
- You can browse aircraft wheel chocks for a range sized to typical airline and GA requirements.
- For broader site needs, you will also find site safety equipment that supports ramps, warehouses, and loading areas.
- If trailers or GSE are part of your operation, trailer wheel chocks are available to keep everything secure.
Summary
Wheel chocks are simple, but they only work when you choose the right size, place them correctly, and keep them in good condition. Use robust materials, match chock height to tyre diameter, and place chocks tight to the tyre with no gap. Chock both sides of the tyre, start on the downhill side if there is any slope, and confirm placement with the flight deck or dispatch per your SOP. With the right chocks and a consistent procedure, you keep aircraft stable, protect your team, and meet airside standards every time